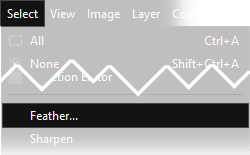
Gimp Tutorial: Lomo effect
How to use Gimp to simulate a Lomo picture. In this tutorial we'll recreate Lomography: high saturation, low dynamic range and vignetting with Gimp.

In this Gimp tutorial we will recreate the Lomography. Lomo is a school of thought as well as a photographic technique. There are ten "Golden Rules" (that are listed at the end of the tutorial), but the motto is only one: "Don't think! Just Shoot". Lomography originated in the nineties, when two Austrian students found some 35 mm compact cameras of a brand called Lomo in a flea market. The name is an acronym that identifies the place of origin: "Leningradskoe Optiko-Mechaničeskoe Obedinenie". The special features of this compact camera are contained in the lens: designed by a Soviet optical engineer, with a 32mm focal length (medium wide angle) and with a relative brightness of f/2.8, which, combined with the small size of the lens, provides extremely saturated images and underexposed vignetting all around. A sort of "tunnel" effect. Gimp allows you to easily simulate a Lomo picture, with few steps. Even if the real lomography needs the use of traditional cameras with films, we thing it could be a good idea to write a tutorial for a credible lomo effect simulation with Gimp for digital pictures.
Is really hard to write the perfect Lomography tutorial for Gimp, because there are many different ways to get a credible Lomo picture, I suggest you to read this tutorial only as an inspiration. For better results I suggest you to shoot with unusual settings: You could overexpose, change color balance to the extreme, use fisheye lenses, add noise, exaggerate the contrast... anything you want.
There are a couple of thing that you should consider before continue:
- The only mandatory step is the addition of vignetting. The lens of a Lomo camera is very bright and wide (32mm f/2.8) and the vignetting is always present
- It could be a good idea to enhance the main color of the scene: in this tutorial I'll increased the yellow, but if your photo is mainly green (for example a meadow or a park), you should enhance the green tones, but you can also do the opposite
- Use only wide lenses, don't use zoom. Use the smaller Aperture (f/value) that you can
- Don't think too much when you shoot, the best results are with crooked/unusual photos
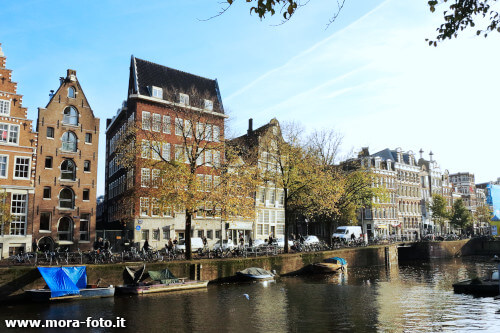
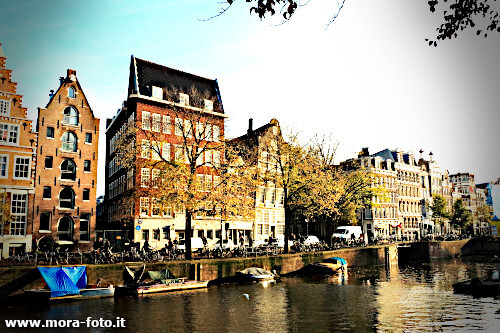
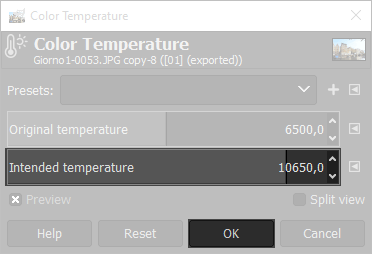
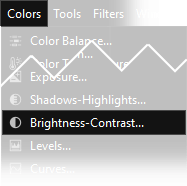
Open the photo that you want to transform in a Lomo photograph, then change the color tone of the picture: go to Colors → Color Temperature and set the values that you like.
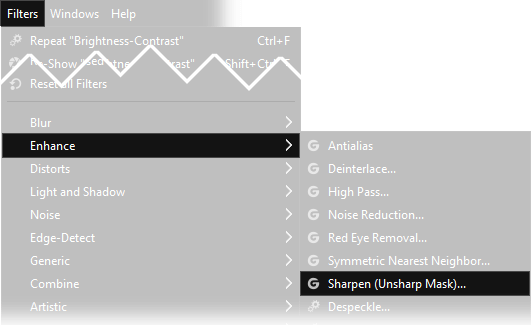
Now we have to give more crispy details to the lomography: open Filters → Enhance → Sharpen (Unsharp mask) and set the parameters as you like, I've left the default values.
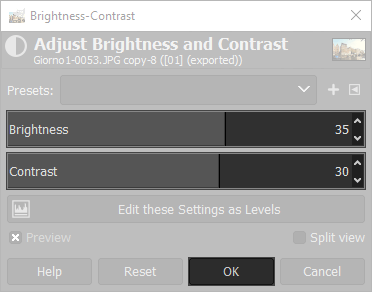
Now we need to brighten and increase the contrast: open Colors → Brightness-Contrast then increase Brightness to +35, and Contrast to +30. We need to simulate the high contrast and low dynamic range of the Lomo.
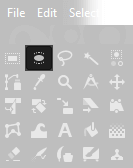
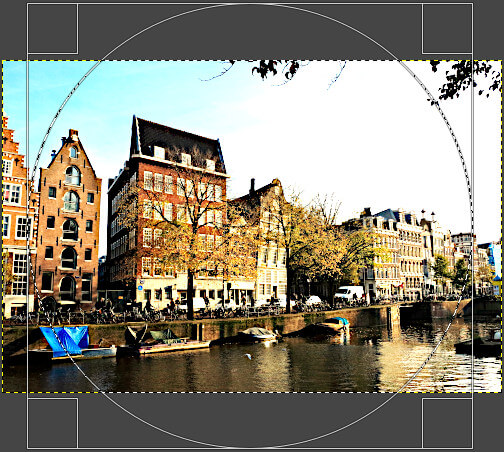
Use the  Ellipse Select Tool
to draw a circle selection like the one in the following image (Hold the Shift button on the keyboard while drawing the ellipse, to get a perfect circle).
Read the tutorial about Gimp's selections and masks if you don't know what an Ellipse selection is and how to use it.
Ellipse Select Tool
to draw a circle selection like the one in the following image (Hold the Shift button on the keyboard while drawing the ellipse, to get a perfect circle).
Read the tutorial about Gimp's selections and masks if you don't know what an Ellipse selection is and how to use it.
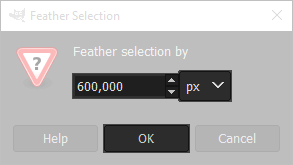
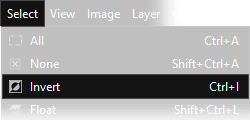
Feather the selection by clicking on Select → Feather.. and choose a large value: a correct amount could be 600 px for high resoluton images, then invert the selection going to Selection → Invert.
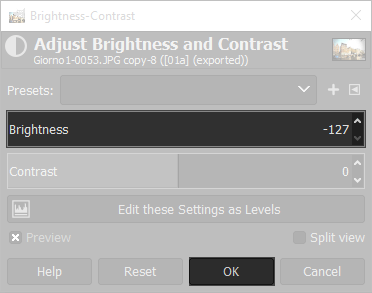
Now we need to reduce brightness: open Colors → Brightness-Contrast then reduce Brightness to -127. We need to darken the vignetting.
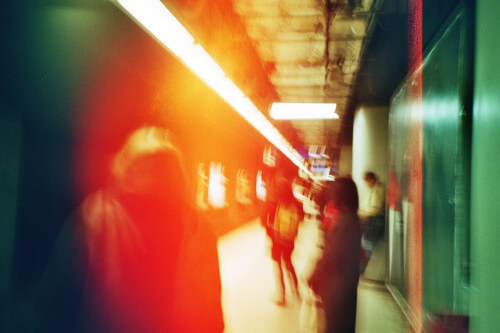
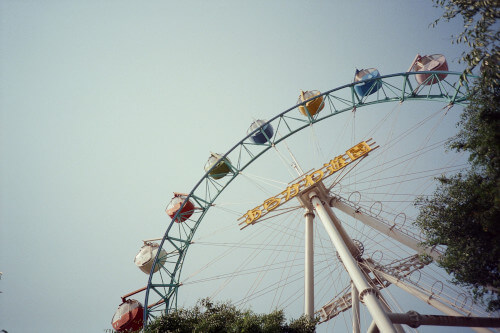
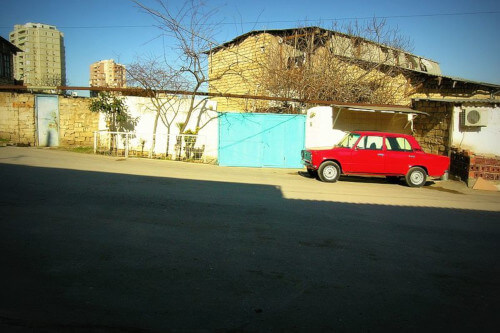
This was the last step of my Lomo photography tutorial for Gimp, next you can see the photo before and after the lomo effect. If you liked Lomo Effect, you can also be interested in the Cross Processing tutorial for Gimp. To conclude, three examples of real Lomo photographs (under creative common license) and the Lomography poster:
The Lomo photography poster:
- Take your camera everywhere you go
- Use it any time - day and night
- Lomography is not an interference in your life, but part of it
- Try the shot from the hip
- Approach the objects of your Lomographic desire as close as possible
- Don't think! Just Shoot (also the credo of Lomography)
- Be fast
- You don't have to know beforehand what you captured on film
- Afterwards either
- Don't worry about any rules
If you liked this tutorial the tutorials we have written for improving your photographs with Gimp, or you can all the guides we have written about photography. If you liked our work, you could consider to ❤support us: by clicking here you can see how.